Migrations and Seeding with Laravel (Laravel 4)
Instead of working and creating the database tables yourself, Laravel has an amazing feature for database migrations and management. You can easily enter in “dummy” data by seeding data into your database which is quite useful for testing your apps. Let’s take a look on how this is done.
If you haven’t already, make sure to install the package manager, composer and make sure you have Laravel installed
Fire up your terminal and enter the following command:
$ php artisan
You should get a list just like this.
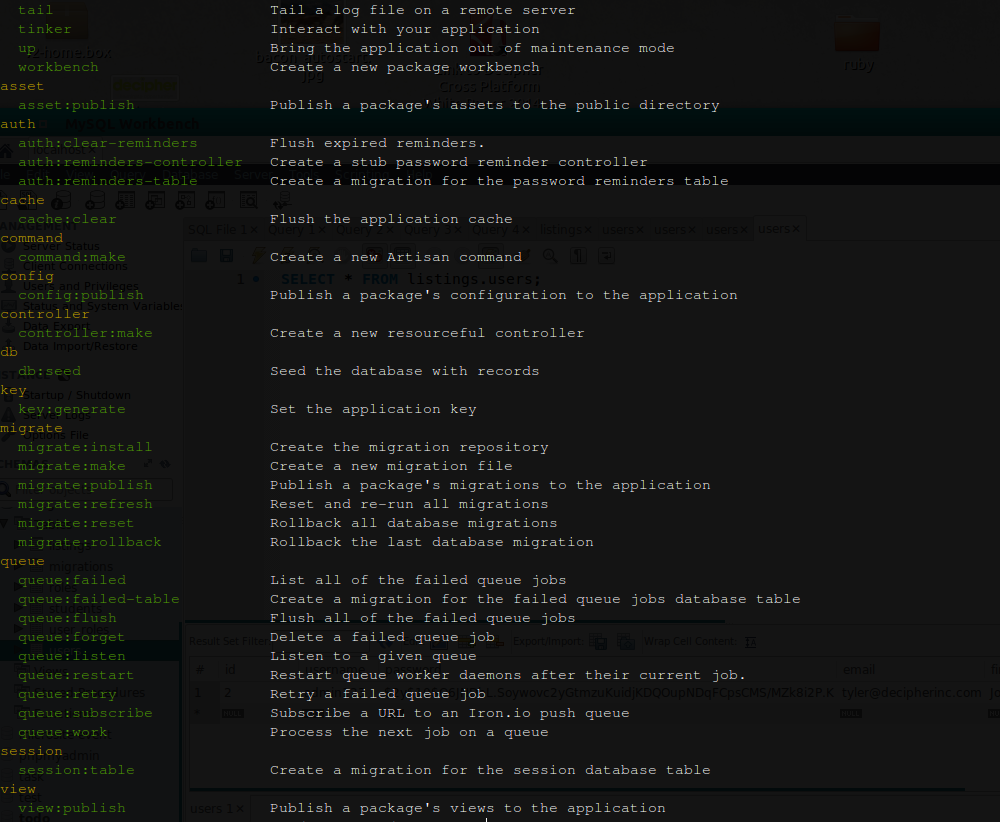
Notice how it’s a bit “rails like.” Very similar to the rake command. In this article, we will be focusing on the migrate, migrate:make and the db:seed commands.
Before we get started, make sure you have your proper database credentials set up in your app/config/database.php file.
Migrations
Let’s go ahead and make a migration file for our users table.
$ php artisan migrate:make CreateUsersTable
This will create a file in our app/database/migrations directory with file naming structure like this:
2014_08_12_155606_CreateUsersTable.php
In this file we can create our users table like so:
<?php

use Illuminate\Database\Schema\Blueprint;
use Illuminate\Database\Migrations\Migration;

class CreateUsersTable extends Migration {

    /**
     * Run the migrations.
     *
     * @return id
     */
    public function up()
    {
       Schema::create('users', function(Blueprint $table) {
          $table->increments('id');
          $table->string('username');
          $table->string('password');
          $table->string('email');
          $table->string('first_name');
          $table->string('last_name');
          $table->timestamps();
        });
    }

    /**
     * Reverse the migrations.
     *
     * @return void
     */
    public function down()
    {
        Schema::drop('users');
    }

}
Pretty straight forward syntax here. Schema::create… creates a table in the database. Then you can add the columns in your database. For example, if you want an integer column, you could add $table->integer(‘number’);
Once your done setting up your table, now it’s time to migrate it.
$ php artisan migrate
This command will create the new table you set up in your migration file; making it fast and simple process to create and update your tables.
Seeding
Now that we have our users table inside our database, we can now seed it with test data. In our app/database/seeds directory, let’s create a file called UsersTableSeeder.php. Now let’s add some data!
<?php

class UserTableSeeder extends Seeder {

    public function run() {
        DB::table('users')->delete();


        $users = array(
            array(
                'username'   => 'admin123',
                'email'      => 'admin@email.com',
                'password'   => Hash::make('admin'),
                'first_name' => 'John',
                'last_name'  => 'Admin',
                'created_at' => new DateTime,
                'updated_at' => new DateTime
            ),


             array(
                'username'   => 'thebaconator',
                'email'      => 'ilovebacon@email.com',
                'password'   => Hash::make('mmmbacon'),
                'first_name' => 'Piggy',
                'last_name'  => 'Bacon',
                'created_at' => new DateTime,
                'updated_at' => new DateTime
            )
        );
        DB::table('users')->insert( $users );
    }
}
Our UserTableSeeder class extends Laravel’s Seeder class. The run() method runs the seeder. We can stick our users in array and enter how many users we want in our users table. Then we can insert the data by using DB::table(‘users’)->insert( $users )
Before we can run the seed command, there’s one more thing we have to do. In the seeds directory, Laravel comes with a file called DatabaseSeeder.php out-of-the box. In that file, we have to call our UserTableSeeder in order to actually seed the database.
<?php

class DatabaseSeeder extends Seeder {

    /**
     * Run the database seeds.
     *
     * @return void
     */
    public function run()
    {
        Eloquent::unguard();

        $this->call('UserTableSeeder');
    }

}
After that’s complete, we can now run our db:seed command
$ php artisan db:seed
Once that command is finished running, you’ll have fresh fake data in your users table.
Closing Points
I hope this post get’s your feet wet with migrations and database seeding with Laravel. It can be a very powerful tool and help you rapidly build your applications. In future posts, I’ll go more in depth on how to work with migrations, what Eloquent ORM is and all of it’s features. Stay tuned.
Resources
Laravel Site: http://laravel.com/
Laravel Documentation: http://laravel.com/docs
Migrations and Seeding: http://laravel.com/docs/migrations
Composer: https://getcomposer.org/
Schema Builder: http://laravel.com/docs/schema
Eloquent ORM: http://laravel.com/docs/eloquent
Laracasts: https://laracasts.com/